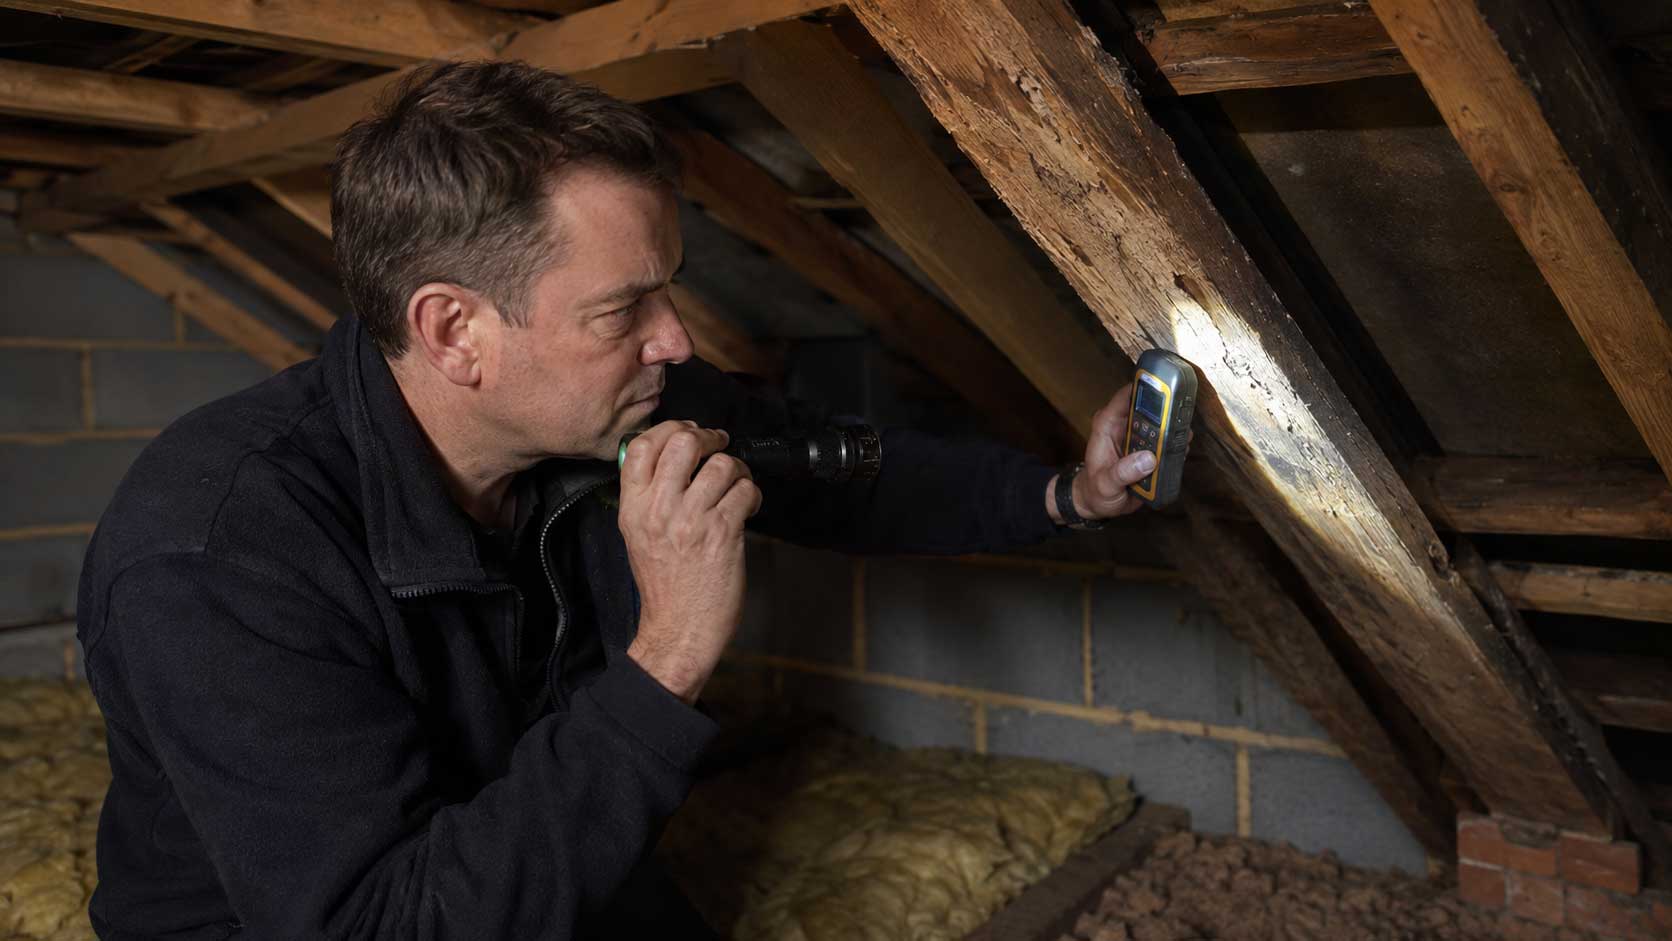
Begin with the building defect
Look for the source that could have kept the timber damp: roof leaks, gutters, plumbing, showers, wet masonry, blocked ventilation or flooding. The position of the decay should make sense in relation to the moisture source.
If it does not, keep looking. Water may have travelled before reaching the timber.
Check the full member, not just the exposed face
Joist ends, wall plates and beam ends can decay inside masonry pockets while the visible section still looks reasonable. Floor movement close to a wall is one clue that the concealed bearing may need opening up.
Separate historic evidence from current activity
Old beetle holes, old stains and previous chemical treatment can remain long after a problem has stopped. Fresh frass, active moisture, new fungal growth or a growing area of weakness is more significant.
Record what you find
Photographs, moisture readings and notes about the weather or recent leaks make later comparison easier. If opening-up is needed, photograph the area before and after so the extent of concealed damage is clear.
Decide what actually needs doing
The final repair may involve stopping the water source, drying, improving ventilation, retaining sound timber, strengthening a local section or replacing badly weakened material. Chemical treatment is only one possible tool, not the starting assumption.
Useful technical sources
- Historic England — Timber Treatments and Pest Control
- Historic England — Timber Decay in Buildings and its Treatment
- Historic England — Damp in Historic Buildings
These links provide background guidance. A particular building still needs its own inspection.